| Vista Gadgets |
| Written by Ian Elliot | |||||||
| Sunday, 28 June 2009 | |||||||
Page 1 of 6
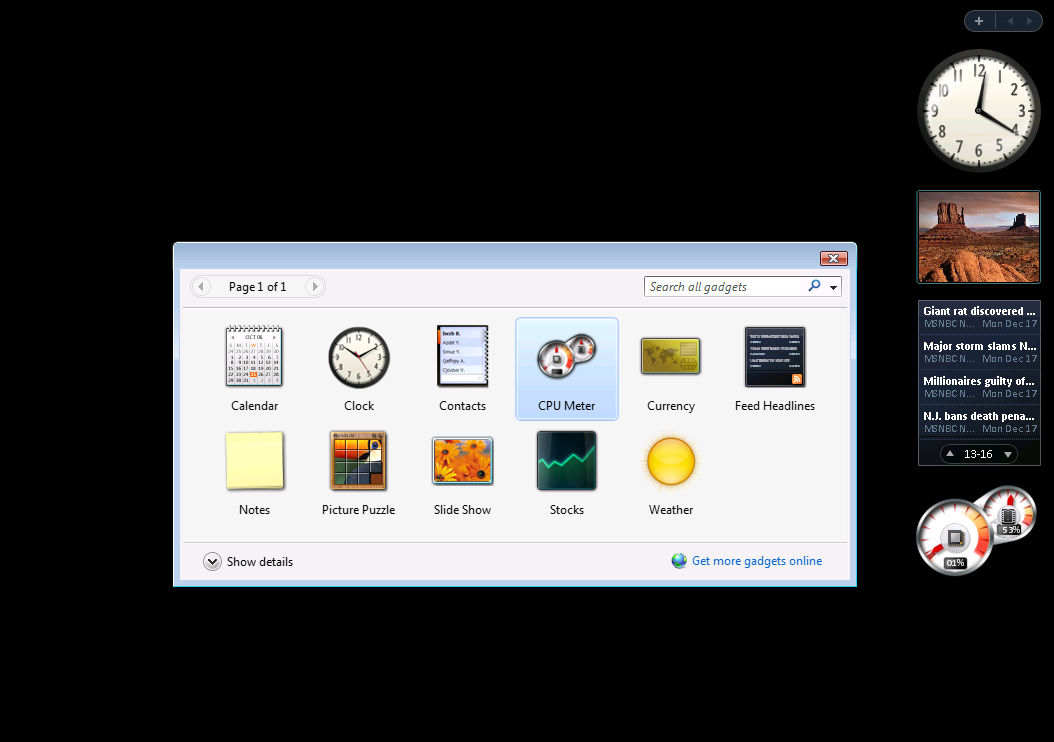
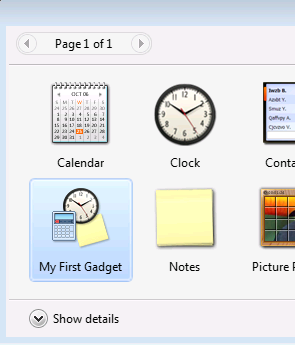
The Vista Sidebar contains mini-applications called "Gadgets" that are built using HTML, XML and script. Vista comes with a range of pre-built Gadgets including Weather, online news and a CPU monitor. If your memory goes back as far as Windows 98 you might remember an earlier attempt at providing similar facilities - Active Desktop. This sank without trace mainly due to worries about security and the lack of always-on Internet connection. This time around the idea looks a much better proposition and it's worth creating Gadgets - and it isn't difficult. Vista standard Gadgets A basic GadgetThe first important thing to realise is that a Gadget is just an HTML page plus script run in the context of the Sidebar. However the Sidebar does provide a range of functions and other facilities that are not standard in a browser window. It is mostly this "Gadget API" that makes Gadgets, and what you can do with them, more than just a web page. The simplest Gadget HTML file is: <html> This HTML file can be created using NotePad or any text editor you care to use that can save a simple text file. You need to create a new directory in: \Users\user name\AppData\Local\ Gadgets stored in this directory are only available to the named user. If you want your Gadget to be available to all users you need to create the directory in: \Program Files\Windows Sidebar\Gadgets If you can't see these directories then make sure you have used Folders,Options to display hidden files. The directory name has to take the form name.gadget. For our example create a directory, in the Gadget directory of your choice, called MyGadget1.gadget and save into this directory the HTML listed above in a file called MyGadget1.HTML. All that we need to complete our first Gadget is an XML manifest file that describes the Gadget to the Sidebar so that it can load it and provide additional information to the user. There are lots of optional XML tags that can be included in the manifest but the simplest manifest for our Gadget is: <?xml version="1.0" encoding="utf-8" ?> The name tag isdisplayed in the Gadget Gallery and on the Sidebar window and the version is used to check and resolve problems if different versions of the same Gadget are installed. The Hosts section will in the future allow you to specify a range of possible hosts for the Gadget. At the moment the only possibility is the Sidebar. The base tag gives the type of the Gadget, always HTML; the name of the source file containing the HTML; and script for the Gadget, the file that is actually loaded if the user selects the Gadget. The manifest has to be stored in the same directory and it is always called gadget.xml. With these two files stored in the Gadget directory you can now click on the "+" button at the top of the Sidebar and the Gadget Gallery will appear complete with My First Gadget, which will be installed if you double click on it. It's worth saying at this early stage that you can package a Gadget in a ZIP or CAB file. For example, if you place all of the Gadget's files, not including the directory, into a ZIP and change the extension to .gadget, then your Gadget will be installed into the Gadget directory when the user double-clicks on it. My First Gadget ready for installation |
|||||||
| Last Updated ( Sunday, 28 June 2009 ) |


