| Getting started with 3D XNA |
| Written by David Conrad | ||||||||
| Friday, 30 July 2010 | ||||||||
Page 6 of 7
Pointing the cameraThe next job is to set up the projection and view transformations. You can think of this as selecting a lens for the camera and pointing it at what we want to look at: Matrix projection = Matrix. The projection matrix is set to a 45 degree view which is a moderately wide angle lens and it will render anything within 1 to 10 units of the camera – anything close or further away is ignored. The view matrix moves the cameras location to (0,0,10) and doesn’t change its orientation so it is still looking straight down the z axis toward the origin. Beginners are often confused that a translation of minus 10 moves the camera to 10 – the reason is that the view transformation actually moves the 3D world and the camera stays put! Now that we have an effect object created and initialize we can move to the Draw method. The next few steps in rendering the scene are fairly standard. First we clear the display window to a nice colour and use the BeginScene method to start drawing:
protected override void Draw(Finally we have to set the cull mode so that faces that have their vertexes listed in clockwise order aren’t drawn i.e they are culled, because they are faces pointing into the cube and never visible: RasterizerState rs = new RasterizerState(); As we are using an effect we have to start processing vertexes using it. The only complication is that an effect can modify different stages in the rendering pipeline and all have to be processed. In the case of BasicEffect it only apply to one pass and we could perform this without a for loop, however the following code is completely generally and works with any effect:
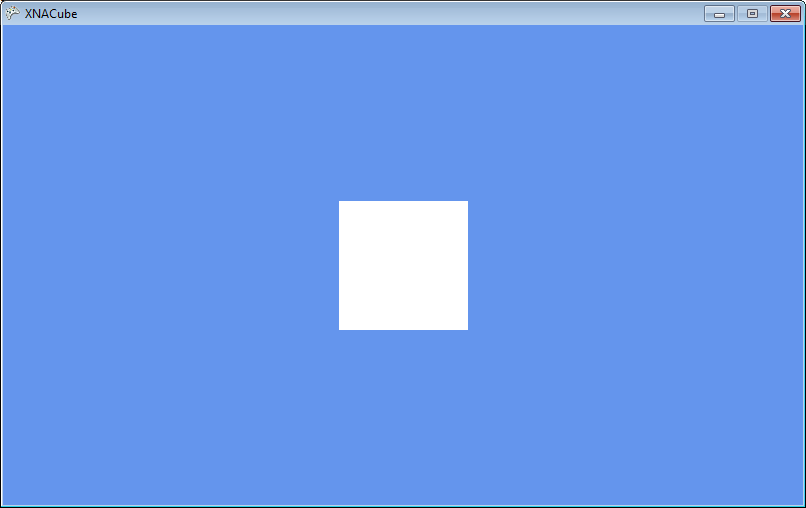
foreach (EffectPass pass in Now you DrawUserPrimitives "knows" how to draw vertexes as specified by the generic type parameter i.e. it will draw an array of VertexPositionNormalTexture vertexes. Notice that it is the number of triangles that you specify to draw i.e. 12, rather than the number of vertexes. Finally we have to create an instance of the cube to draw and this is best done in the LoadContent method, even though the content isn't going to be loaded but generated: private VertexPositionNormalTexture[] cube; If you now run the program you will see the overall result - a white square in the middle of the view area. This is all that you can expect as the cube is face on to the viewer, has no texture properties and so defaults to white under the white ambient lighting.
The first view of the cube |
||||||||
| Last Updated ( Friday, 30 July 2010 ) |


