| Bitmap Effects |
| Written by Administrator | ||||
| Monday, 24 May 2010 | ||||
Page 1 of 3 WPF bitmap effects are easy to use but subtle. Before moving on to consider custom effects we take a careful look at what is provided as standard. 
WPF bitmap effects are a strange topic. They allow you to apply pixel level operations on bitmaps and other graphics rendered to bitmaps using the modern high performance graphics hardware, i.e. the GPU, that every reasonable machine has today. What makes the topic strange is that it brings the world of HLSL - High Level Shader Language - into the realm of the UI whereas previously it was something that only graphics experts would get involved in. As a result it is very easy to use the standard supplied bitmap effects but, unless you are an expert games programmer, getting into writing your own can seem like a black art. As it turns out, when explained from first principles working with HLSL isn't that difficult and this is something that will be explained in the next articles in this series. However before moving on to the exciting topic of custom bitmap effects we need to take a look at the standard effects, how they are used and how they work. EffectFirst thing to make clear is that the new Effect class supersedes the BitmapEffect class. The reason is simply that the BitmapEffect class did its work in software and hence tended to slow rendering down. The new Effect class, introduced in .NET 4.0 uses the GPU and implements a pixel shader which does the job in a fast and efficient way. So don't use BitmapEffect and if you have any programs that do use it make the change to Effect. The specific BitmapEffect classes that are now obsolete are:
One small problem is that the new hardware effects only provide replacements for DropShadow and Blur. To do anything else you are going to have to master custom effects. You can use the DropShadow effect to create a replacement for the OuterGlow effect - see later. What works?It is also important to realise that all of the effects depend on the machine having a GPU and being in a situation where it can be used. For example, if you are viewing a machine's interface via a remote desktop or if the machine doesn't have a suitable GPU then the effects will be rendered using software and this can be much slower. However, even when suitable hardware isn't available WPF does its best to produce something that runs fast by compiling the HLSL GPU program into x86 SSE (Streaming SIMD) instructions. Software rendering is only supported for Pixel Shader 2.0 and this is something to keep in mind when designing custom effects. There are a number of new facilities to help you find out how effects will be rendered. These are methods of the RenderCapability class. The first, IsPixelShaderVersionSupported, will return true if the shader major.minor version is supported: bool ans = RenderCapability. The IsPixelShaderVersionSupportedInSoftware works in the same way and returns true if the effect can be rendered in software. bool ans = RenderCapability. BlurTo see an effect in action let's try the BlurEffect. An effect can be assigned to any object that has an Effect property. For example if we load a BitmapImage: Uri uri = new Uri( and display it in an Image control: image1.Source = bmi;
then we can set a BlurEffect simply by creating a new BlurEffect object and setting Effect to reference it: image1.Effect = new BlurEffect();
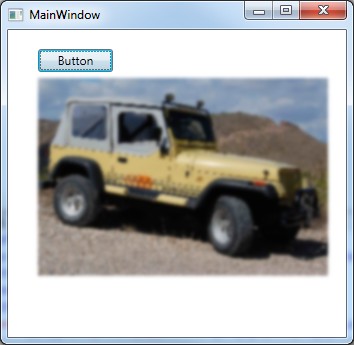
A blur effect applied to a bitmap
|
||||
| Last Updated ( Saturday, 22 May 2010 ) |