| Commando Jump Game For The Micro:bit In Touch Develop |
| Written by Mike James | ||||
| Thursday, 18 February 2016 | ||||
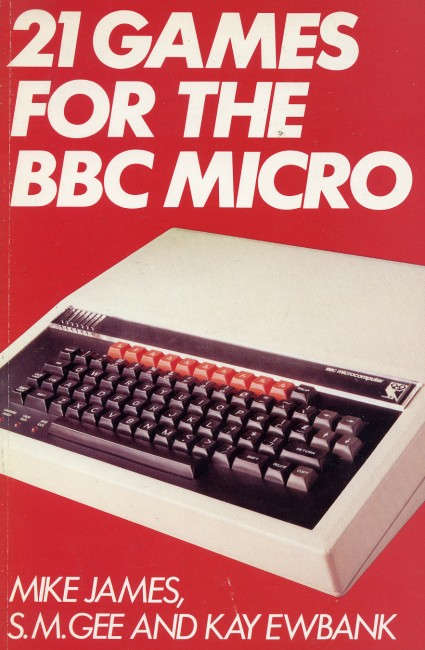
Page 1 of 3 Programming a game for the Micro:bit is a challenge mainly because of the limitations of its 5x5 LED matrix display. Here we look at how to use Microsoft Touch Develop, which can be used to create games and apps on all your devices. In this project we resurrect a classic BBC Micro game on the BBC micro:bit. Games have always been a great way to get into programming so why should the micro:bit be any different? Back in the days of the BBC Micro I was involved the development of a game called Commando Jump that was included in the book 21 Games for the BBC Micro.
When I was sent a micro:bit, it seemed the obvious candidate to put the device through its paces. So far I've translated the game to the micro:bit using three of the four supplied language systems:
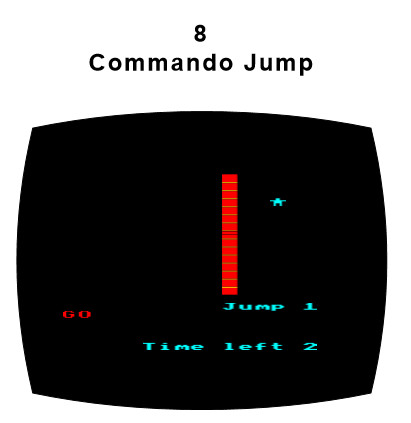
Touch Develop is the remaining option and this conversion lets you see how to implement the game in this completely different environment. Introducing Commando JumpCommando Jump was, by design, a very simple game intended to teach BBC Basic programming. It presented the player with a wall that the commando had to climb. The initial jump height was determined by the player's reaction time. After that they could make the commando scramble up the wall by pressing a key as fast as they could. The faster, the higher the commando climbed. If you reached the top of the wall before that time out then at the next level there was a higher wall. If you didn't make it the commando would slide down with a deflated noise.
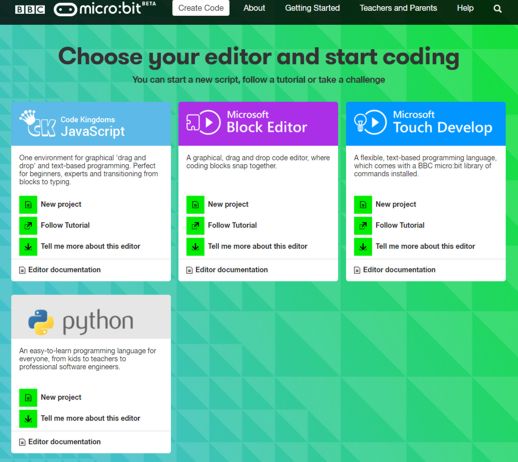
A 5x5 LED display is just enough to implement this game. Not in all its many-colored glory but we can reproduce some of the original game play - and the temptation of re-implementing a game from the BBC Micro days on the BBC Micro:bit days was too good to miss! In the rest of this article it is assumed that you have a Micro:bit and know a little JavaScript, but not that much. Getting Started With Touch DevelopMake your way to the Micro:bit website, www.microbit.co.uk, click on Create Code, choose the Touch Develop editor and start coding.
All you do is enter the program into the editor, click the download icon and then copy the download onto the Micro:bit usb drive. When you connect the Micro:bit to your desktop computer it installs itself as a USB drive - this is the only communication the PC needs with the Micro:bit as any program copied there is immediately loaded and run. Of you can just run the program in the emulator included at the rigth of the editor. Touch DevelopTouch Develop is sort of half way between a blocks editor and coding by typing. You can enter any code you want by selecting from menus that appear at the bottom of the screen - or you can just type in the code without any help. Using the menus makes it possible to build programs on restricted devices - say using a touch screen, hence the name of the system. It also provides an easy transition from menus to full speed typing of code. The biggest problem in using Touch Develop is in finding what you are looking for. For example where would you look to create a new function? The easiest way is to click on the script button in the top right-hand corner:
Alternatively you can move to the second page of menus and select Code. Next you select new function and suddenly the editor clears and you are working with a new function. How do you insert a function into your code? Same way - got to code then select the name of the function displayed. To go to any function you simply click it in the program and select got to or use Code again to select the function. It is all easy once you are familiar with it, but it can take a lot of exploration to discover its features and facilities. LimitationsThe Touch Develop editor is the least restrictive of all of the easy-entry editors - only MicroPython beats it for facilities. However, notice that while a program created in the Block Editor can be converted to a Touch Develop program, the Blocks language doesn't support the full range of Touch Develop facilities. For example, you can have functions in a Touch Develop program, but currently not in a Blocks program. In Touch Develop functions can also have parameters and return values, which makes it a good choice if you want to go further and use, or teach, modular programming. Two other possible problems are the for loop and the if statement. The for loop is very limited and is just a repeat n times loop:
you can't change the range of the index variable. This problem is discussed later. The if statement it also limited, but in this case limited to a ??bigger case than is generally needed. You can only have an if then else structure - you can't seem to get rid of the else and if you just want an if then you simply have to leave the else clause empty. There are some other limitations that mean it isn't possible to implement the slightly more sophisticated animation used in the MicroPython version of Commando Jump. All you have is the plot x,y command which turns the LED on and the off x,y which turns it off. You can make use of an LED as a sprite, which does simplify the program. However, you can't mix using sprites with plot and unplot. I suspect this has something to do with the way sprites are implemented as a back buffer. What this means is that if you opt to use sprites you have to use sprites for all objects on the screen - even if they don't move. As you can modify the brightness of a sprite it would also be possible to implement the more advanced animation employed in th MicroPython version, but for simplicity and to keep the program short, the simplest version of the game seems preferable. Another problem with using sprites is that they aren't completely documented. You can create a sprite, but after that it is up to you to figure out how it works. If you want to find out what properties and functions a sprite can use first create a sprite, for example:
Now if you type in the editor sprite. (sprite dot) you will see a full list of poperties you can use. These include:
which give its current position. To move the sprite use:
For Commando Jump we'll create a a four-LED wall appears and a single-LED man sprite which moves up one location for every ten presses of the button A. When it gets to the top, the man sprite is animated horizontally and then down to its final position. One final problem with Touch Develop is that there seems to be no way to see the entire program in graphical form or as text and there is no export command. |
||||
| Last Updated ( Saturday, 23 April 2016 ) |