|
Page 1 of 6 Pickers are important ways to get user input, but they have been through so many revisions that they lack simple documentation or guidelines how to use them. Working with Pickers - date, time or number - can be a confusing mess. Let's see if we can make it all seem logical.

Starting With an App
Third Edition
Is now available in paperback and ebook.
Available from Amazon.
- Getting Started With Android Studio 3
- The Activity And The UI
- Building The UI and a Calculator App
- Android Events
Extract: Using Lambdas
- Basic Controls
- Layout Containers
- The ConstraintLayout
Extract: Guidelines and Barriers
- UI Graphics A Deep Dive
Extract: Programming the UI ***NEW
- Menus & The Action Bar
- Menus, Context & Popup
- Resources
- Beginning Bitmap Graphics
Extract: Simple Animation
- Staying Alive! Lifecycle & State
- Spinners
- Pickers
- ListView And Adapters
If you are interested in creating custom template also see:
Custom Projects In Android Studio
A picker is a "dial" that you can use to select one of a predetermined set of values. In this sense it is a lot like the Spinner covered in the previous installment, but one that has a more restricted set of choices. Android currently supports three Pickers for dates, times and general numbers.
Using A Picker
The first big confusion to clear up is that there are two ways to make use of a Picker - as a widget or as a dialog box.
Of the three well-known Pickers, the TimePicker and the DatePicker come as widgets and as dialog boxes. The NumberPicker is only supplied as a widget, but of course you can put it in a Dialog box if you want to.
In most cases you probably do want to create a Dialog box and in this case you need to use a DialogFragment to wrap the Dialog and manage its lifecycle. The only problem with this is that a Fragment is a complicated UI component and there are many situations where using the raw widget will do the job well enough.
In short it makes sense to first look at the underlying Picker widgets before we get round to looking at Dialogs and DialogFragments.
Using TimePicker
TimePicker is a very easy place to get started.
If you create a new Android project, called TimeAndDate and accept all of the defaults you can place a TimePicker on the design surface just like any other widget - no need to worry about Fragments or Dialogs.
You can find the TimePicker in the Date & Time section of the Toolbox where you will also find the DatePicker.
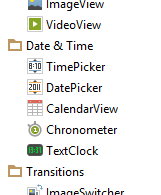
Place the TimePicker on the design surface and size and locate it as required.
In its default configuration it shows in the designer using the style android:timePickerStyle and has an analog clock face and an input area that can be used to set the time by dragging the hands on the clock face:
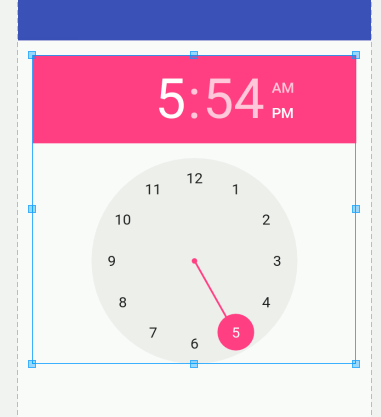
Pickers are complex widgets that have multiple components each of which can change its appearance depending on how they are styled. We haven't covered styles and themes, this is for a slightly more advanced look at the UI.
The problem is that the appearance of the pickers depends on which version of Android you are targeting and how you are targeting them. There are a range of different themes you can select but they don't all work with all SDK/APIs and the majority are likely to be removed at some time in the future.
For example the theme used for pre-API 14 looked like:
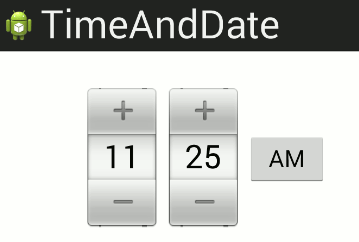
The post API 14 adopted the Holo theme and the picker looked like this:
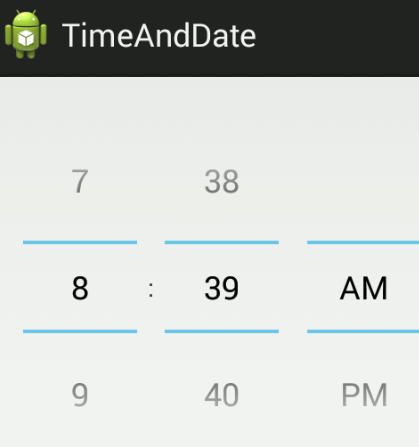
What follows is what you get if you don't struggle against the way things "just work". However it is important to realize that exactly what the user sees depends on the version of Android they are using. For example your up-to-date app running on the latest Android might look like the clock TimePicker but it you run it on a pre-lollipop API such as Jelly Bean API 18 then you will see the Holo-themed version as above. If you want to support these older version then it is important to remember to test using them.
If you want to use something that looks like the Holo-themed version on all versions then all you have to do is find timePickerMode in the properties window and use the drop down list to select spinner or clock depending on the type you need.
|


