| Getting started with Windows 7 Gadgets |
| Written by Ian Elliot | ||||||
| Monday, 22 August 2011 | ||||||
Page 1 of 5 Given the very real possibility that Windows 8 will have an HTML5/JavaScript framework and an app store, now is a very good time to look at the existing support for these technologies in the form of Sidebar Gadgets. In Window 7 the Sidebar may have gone, but the Gadgets are still there. Gadgets were introduced with Vista but they have been improved in Windows 7. They also happen to be very easy to create and as such represent an underused resource. If you already know how to create a Vista gadget then the good news is that the same techniques work with Windows 7 - there are just a small number of additions.
 The Standard Gadgets The Standard Gadgets
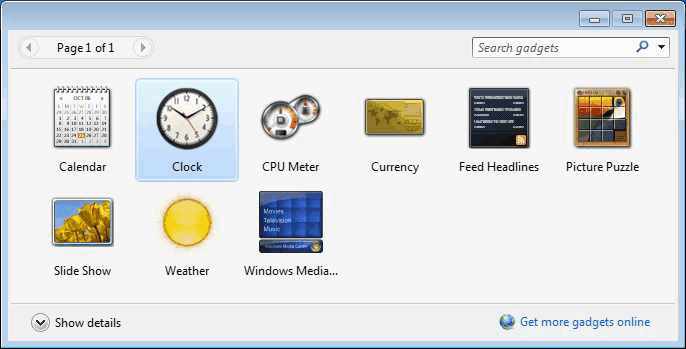
A basic GadgetThe first important thing to realise is that a Gadget is just an HTML page plus script run in the context of the Windows desktop. In the case of Vista a Gadget ran under the Sidebar but this has been removed in Windows 7. Even so the same facilities that were provided by the Sidebar are still provided by the desktop and a Gadget API. It is mostly this "Gadget API" that makes Gadgets, and what you can do with them, more than just a web page. The simplest Gadget HTML file is: <html> This HTML file can be created using NotePad or any text editor you care to use that can save a simple text file or you can use a development environment such as Visual Studio - anything that can create a standard HTML page. You need to create a new directory in: \Users\user name\AppData\Local\ Gadgets stored in this directory are only available to the named user. If you want your Gadget to be available to all users you need to create the directory in: \Program Files\Windows Sidebar\ If you can't see these directories then make sure you have used Folders,Options to display hidden files. The directory name has to take the form name.gadget. For our example create a directory, in the Gadget directory of your choice, called MyGadget1.gadget and save into this directory the HTML listed above in a file called MyGadget1.HTML All that we need to complete our first Gadget is an XML manifest file that describes the Gadget to the Sidebar so that it can load it and provide additional information to the user. There are lots of optional XML tags that can be included in the manifest but the simplest manifest for our Gadget is: <?xml version="1.0" encoding="utf-8" ?> The name tag is displayed in the Gadget Gallery and on the Sidebar window and the version is used to check and resolve problems if different versions of the same Gadget are installed. The Hosts section will in the future allow you to specify a range of possible hosts for the Gadget. At the moment the only possibility is the Sidebar. The base tag gives the type of the Gadget, always HTML; the name of the source file containing the HTML; and script for the Gadget, the file that is actually loaded if the user selects the Gadget. The manifest has to be stored in the same directory and it is always called gadget.xml With these two files stored in the Gadget directory you can now view the Gadget Gallery - right click the desktop and select Gadgets. You will see your new gadget complete with a default icon. If you install you gadget you might be disappointed to discover that it doesn't display your message - the reason is that its default display area isn't big enough. We will fix this problem in the next section. It's worth saying at this early stage that you can package a Gadget in a ZIP or CAB file. For example, if you place all of the Gadget's files, not including the directory, into a ZIP and change the extension to .gadget, then your Gadget will be installed into the Gadget directory when the user double-clicks on it.

|
||||||
| Last Updated ( Monday, 22 August 2011 ) |