| AWS Low Cost Mailing List Using phpList And SES |
| Written by Ian Elliot | |||
| Tuesday, 27 September 2022 | |||
Page 1 of 2 Running a mailing list is not easy or cheap, but if you use AWS it can be. Find out how to create a low-cost and highly effective mailing list server. Mailing list providers generally seem reasonably priced when you first look into the problem, but when you realize that the charges are proportional to the number of emails you send, and often the number of lists, it all gets expensive quite quickly. A simpler and more economical solution is use AWS to build a custom server, which could cost you less that $5 a month almost irrespective of the number of emails you send or the number of lists that you support. The surprise is that paying for the server also pays for sending the emails (up to a limit) as long as you use SES. The trick is to create a small server that runs phpList, which is an open source list manager built using PHP. You can also buy a ready-made, cloud-based solution if you ever need to move to another option. Although phpList needs a web server and a database, it is quite reasonable to run it on the smallest AWS instance type - a t2 nano with just 512Mbytes of RAM and one CPU. This costs 0.0058 USD per hour or just over $4 per month, less if you use one of the many plans that AWS offers. If you are really trying to keep costs down you could try a t4g.nano, which uses an ARM CPU, at 0.0042 USD per hour or just over $3 per month. I preferred to stick with x64. Create your AWS instance - you can accept all the defaults and start it running. Connect via SSH and a self-generated certificate. LAMPThe first task is to set up a LAMP stack. This is perfectly standard. First we need Apache, PHP and MariaDB:
Next we need to configure the Apache server:
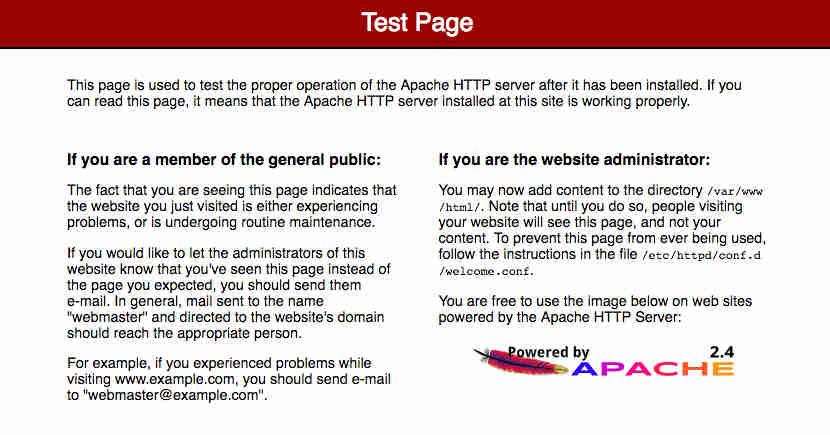
This sets things up so that Apache starts when the system restarts. You can also manually restart the server at any time: sudo systemctl restart httpd It also adds the default user to the Apache groups so that they can edit web pages. At this point you should be able to connect to the server and see the Apache test page:
Time to move on to the PHP setup:
This installs some modules needed by phpList. You can use the restart command to restart the PHP system after making configuration changes. At this point your web server and PHP should be working, but we still need to configure the database:
You will need to answer the questions that are presented. Set a strong password for the root user, and record it, remove the anonymous account, disable remote root login and remove the test database - why these are the defaults that you have to change each time is difficult to see. Reload the privileges tables to make everything take effect, i.e. answer Y to the last option, When all of this is complete use: sudo systemctl enable mariadb to start the database when the machine starts. With the database set up you need remote access to it. You might think that disabling remote access by the root user makes this impossible but there is a better solution. You already have access the machine via SSH and so you can use the database via the SSH console. I usually set up MySQL Workbench at this point and make use of its Standard TCP over SSH connection method. You have to supply the credentials for your SSH connection and once this is made you can log on using the root user and password. As far as the database is concerned this is local access as it knows nothing about the SSH connection. This makes connecting via MySQL Workbench a two stage process - first get the SSH connection working and then login to MariaDB. If you have an SSH connection open you can start a console session using: mysql -u root -p and supplying the password when requested. |
|||
| Last Updated ( Tuesday, 27 September 2022 ) |


