| Getting started with Windows Phone 7 |
| Written by Harry Fairhead | ||||
| Friday, 20 August 2010 | ||||
Page 3 of 3
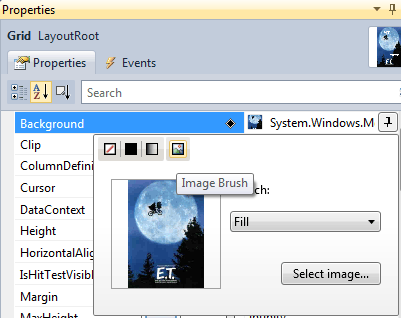
Using the PhoneCreating a user interface for WP 7 is more or less the same as creating a Silverlight, or WPF even, user interface. The only unfamiliar user control is the Application bar and this is very easy to use and much like a standard menu. What is more interesting is the way that you can make use of the built in hardware and software. Using the build in hardware with the emulator is a little tricky at the moment as it doesn't actually emulate many of the facilities. So for a final example, let's write a short application that dials home - yes an ET App. Start a new project and find a suitable graphic to act as the background for the app. Remember that in a real phone images and other resources would have to be downloaded possibly over the GSM network - so keep things small. There are many ways to include resources in a project but the simplest is to copy the graphic into the projects main directory and then add the file to the project. Right click on the project folder and use Add Existing Item. Next use the properties window to set the background property of the Grid to the new graphic that you have aded to the project. If you have successfully added the graphic to the project then the graphic will be one of the options automatically offered to you.
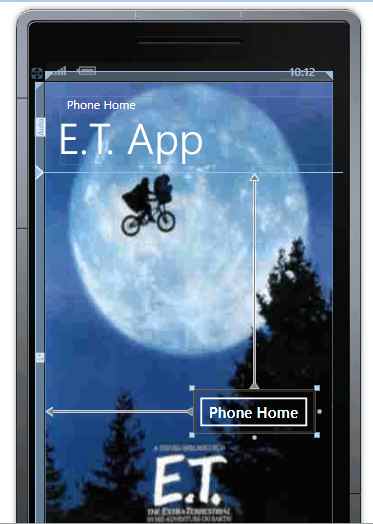
Next place a button on the Grid, change its Content property to read "Phone Home" and size and position it. Finally click on the two default text items and change their content to E.T.App and Phone home respectively. The final UI should look something like the screen dump:
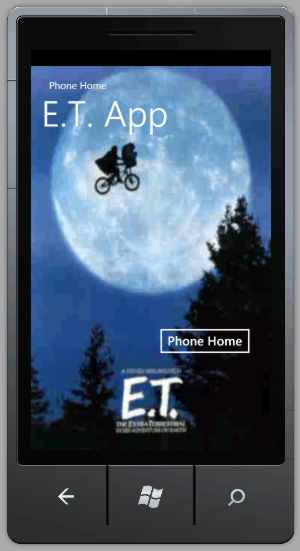
Next we define the code. Double click on the button and you will be transferred to the code editor ready to enter the details of the button click event handler. First we need to create an instance of the PhoneCallTask class: PhoneCallTask phone = new PhoneCallTask(); To make this work we need to include: using Microsoft.Phone.Tasks; at the start of the program. To discover other phone utilities that you can use investigate the Phone.Tasks namespace. Now that we have the PhoneCallTasks object using it is very easy: phone.DisplayName= "Home"; All that happens is that we set the DisplayName property to something sensible and the PhoneNumber property tot he number we wan to dial. Finally calling the Show method makes the Phone Dialler load and display. The complete code is: using Microsoft.Phone.Tasks; The initial view of the ET App is very simple looking:
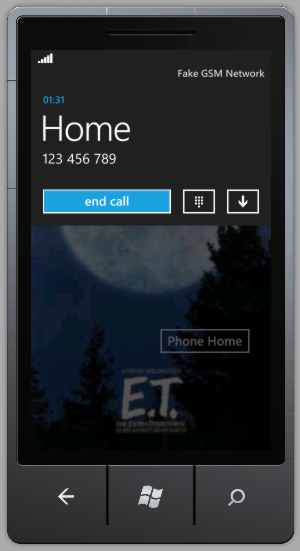
If you click or touch the button in the case of a real phone then you start the process or dialing the number:
Of course there are some things we need to do before the App is suitable for deployment - in particular we need to deal with the possibility that it might be suspended and then restarted by the operating system. But this is a simple program for a simple task and this is how it should be. Developing applications for WP 7 is fairly easy and getting easier as the development tools and the class libraries develop. Look out for more Windows Phone 7 topics in future articles. If you would like to be informed about new articles on I Programmer you can either follow us on Twitter, on Facebook or you can subscribe to our weekly newsletter. Each provides a full list of what's new each week - usually five hot book reviews, five thought-provoking articles and five not to be missed news items - in a compact click-to-read form.
|
||||
| Last Updated ( Monday, 20 September 2010 ) |