| Getting Started With RealSense In C# |
| Written by Harry Fairhead | ||||
| Thursday, 12 March 2015 | ||||
Page 2 of 3
A Live FeedNow we come to actually getting the data. You generally want to retrieve a live feed of frames and there are a few ways of achieving this. For simplicity we will retrieve a single frame and display it. The AcquireFrame method starts the process of acquiring a frame of each of the streams you enables, only the color stream in this case. This call blocks and no other processing will be done until the frames are available and it returns:
You can check the status to see that it did obtain the frames without error. You can also optionally specify a timeout. The frames that have been acquired are returned as a sample structure which has fields for each of the frame types and a left right stereo pair:
You can access the sample using QuerySample:
Each of the sample fields is a PXCMImage object which is what you need to start to work with the raw data:
To get at the raw data you have to lock it in memory and perhaps convert its format using AcquireAcess which returns yet another image related object - an ImageData structure.
In this case we have converted the default pixel format to 32 bit RGB in data. The ImageData structure provides pointers to the raw data stored in unmanaged memory that you can work with using p/Invoke methods such as marshal.copy. There can be multiple bit planes defining the image and there are up to four points to bit planes but usually only the first one is used. It also provides a set of ToX methods that convert the unmanaged raw data into a number of managed types including a byte array, short array and so on. It also has two methods that convert the unmanaged data into managed image objects. In the case of WPF the one that we are interested in is ToWritableBitmap. At last we have a WPF object that can be displayed or modified:
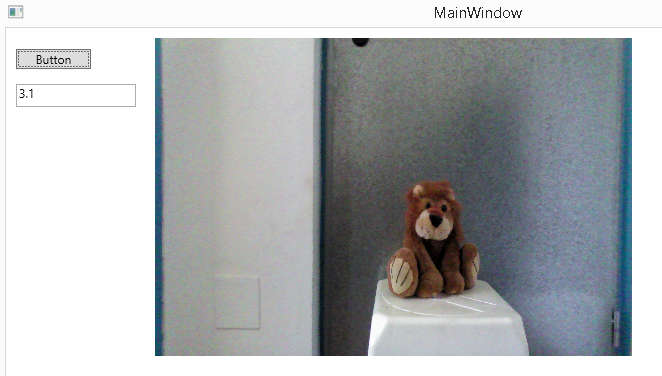
The first parameter specifies which of the bit planes is to be used. The final two parameters are the dpi for the image which isn't often of use. We can now set the Image control's source property and the captured image will be displayed:
All that remains now is to clean up and this can be complicated. You should release the access to the unmanaged data when you are ready using:
You should use ReleaseFrame as soon as you can because until you do no more frames can be processed. However if you do it too soon the image data you want to work with will be lost.
Finally when you have finished with the SenseManager and the Session you should close and dispose of them:
The close operation dismantles the processing pipeline and the Dispose removes the session and all its related objects from unmanaged memory. This isn't an ideal way to work because setting up the pipeline is a lot of work. It also resets the automatic exposure control which means that you might find the image sample on the dark side unless you have good daylight. Putting all of this together, in the button's click event handler results in a program that can take a snapshot from the camera every time the button is clicked. The complete function is:
Notice that for simplicity everything we need is created afresh and disposed of each time the button is clicked - this is not the usual way of doing things.
Adding DepthNow that we know how to connect to the video stream we can do the same sort of thing for other streams. To get a sample from the depth stream all we have to do is enable it and then process it. Our setup instructions to enable both the color and depth stream are:
Next we acquire a frame and get the sample as before:
What is different now is that the sample has a color field and a depth field:
The color image can be processed in the same way and the depth image is an almost identical procedure:
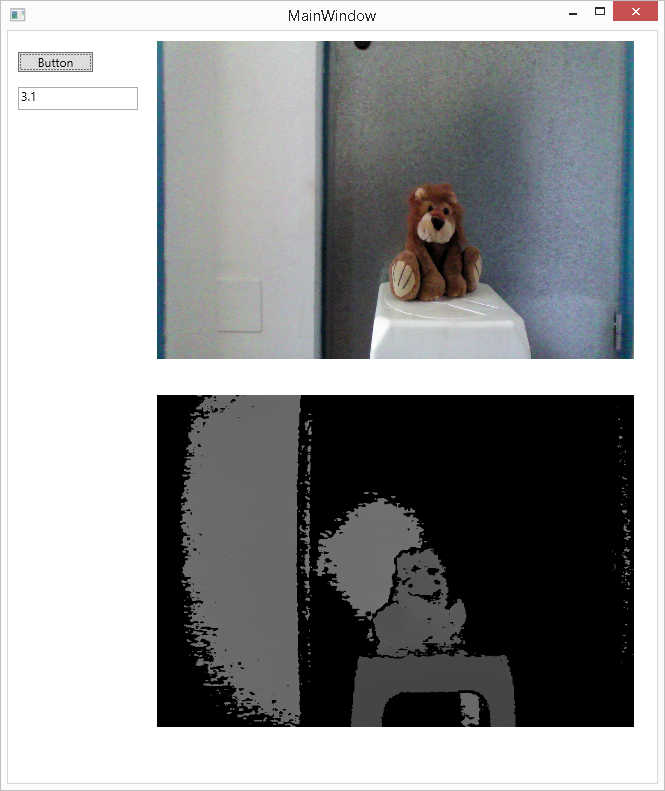
Notice that we use depth_raw as the required format this seems to provide a suitable bitmap when converted to WriteableBitmap to display in an Image control. Place another Image control on the form, called image2 and you can display the grayscale depth data:
The depth image is converted to a 16-bit gray level image, which the Image control can display without any extra work. Now all you have to do is clean up.
|
||||
| Last Updated ( Friday, 26 January 2018 ) |