| Raspberry Pi IoT In C - VS Code Remote C |
| Written by Harry Fairhead | ||||
| Monday, 05 October 2020 | ||||
Page 2 of 3
Third you need a tasks.json file which is listed at the end of this appendix. This contains the definitions of a number of tasks that are used to run and debug the program and some of them are useful as standalone tasks:
 /home/pi/Documents/Cprojects/HelloWorld/
 helloworld.c -lbcm2835
 -o/home/pi/Documents/Cprojects/HelloWorld/helloworld.exe
The final file is c_cpp_properties.json: {
"configurations": [
{
"name": "Win32",
"includePath": [
"${workspaceFolder}/**",
"C:/Program Files (x86)/mingw-w64/
i686-8.1.0-posix-dwarf-rt_v6-rev0/mingw32/
i686-w64-mingw32/include"
],
"defines": [
"_DEBUG",
"UNICODE",
"_UNICODE"
],
"cStandard": "c99",
"intelliSenseMode": "gcc-arm"
}
],
"version": 4
}
The cStandard variable sets the version of C used for IntelliSense syntax checking and has no effect on the compiler. You need to set the version in two different places, settings.json for the compiler and c_cpp_properties.json for the editor. The includePath variable sets the folders where the editor looks for header files. In this case the MinGW directory for all the standard headers and the workspace folders for custom headers. Running And Debugging RemoteWith the four files given above stored in .vscode, we can now run the helloworld.c program on the remote machine.
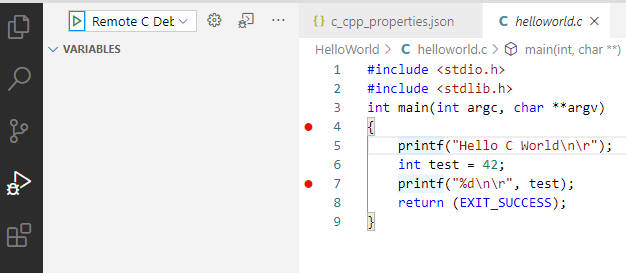
If you just want to build and run the program all you have to do is open it in the editor and select Terminal, Run Build Task or press Ctrl+Shift+B. The program will be automatically copied, built and run and you will see the output in the Terminal window. If the program you run is an infinite loop you may need to manually run StopRemoteC to stop it. To debug the program place some breakpoints in it:
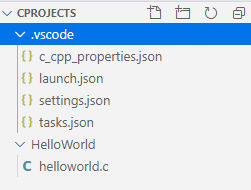
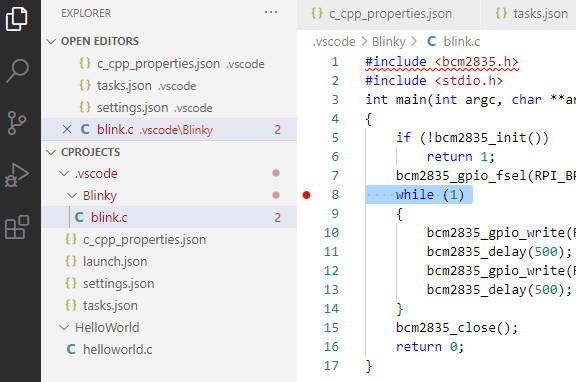
Select the Run icon and then click on the Start debugging icon. The program is automatically copied, built and run in debug mode. The debugger will pause at the first breakpoint and you can single-step and examine variables. When you are finished click the Stop icon. Remote IoT ProgramsRunning an IoT Program remotely is almost the same, but with one difference – the use of the BCM 2835 and possibly other non-standard libraries. The remote machine has the library installed and the compiler can make use of it just by using the -lbcm2835 option but the local machine doesn’t have it installed and doesn’t need to as the program is never run there. Let’s try a simple example. Create a new folder called Blinky and create a file called blink.c: #include <bcm2835.h>
#include <stdio.h>
int main(int argc, char **argv)
{
if (!bcm2835_init())
return 1;
bcm2835_gpio_fsel(RPI_BPLUS_GPIO_J8_07,
This attempts to use bcm2835.h but this is not available on the local machine so immediately you will see an error:
H owever if you run the program you will find the compiler doesn’t report an error and the program works. The reason is, of course, that on the remote machine bcm285.h is available as is the library file used by the linker. If you don’t mind seeing errors that don’t really exist you can leave things as they are but it is very easy to copy the header from the remote machine to the local machine using the copyHeaders task. This creates a headers directory and copies bcm285.h into it. Now the reported error should disappear and you should be able run and debug the program in the usual way. In a more general case you may have to copy multiple header files to the local machine but you only need the header files as the program is actually compiled on the remote machine. Notice also that if you run the program using ctrl+shift+B you will have to use the StopRemoteC task to stop it. |
||||
| Last Updated ( Monday, 05 October 2020 ) |