| Android Programming In Java: Programming the UI |
| Written by Mike James | ||||
| Monday, 03 June 2019 | ||||
Page 2 of 3
To make this button a tiny bit more interesting we can customize it by setting properties. For example: Button b = new Button(this);
b.setText("Hello Button");
setContentView(b);
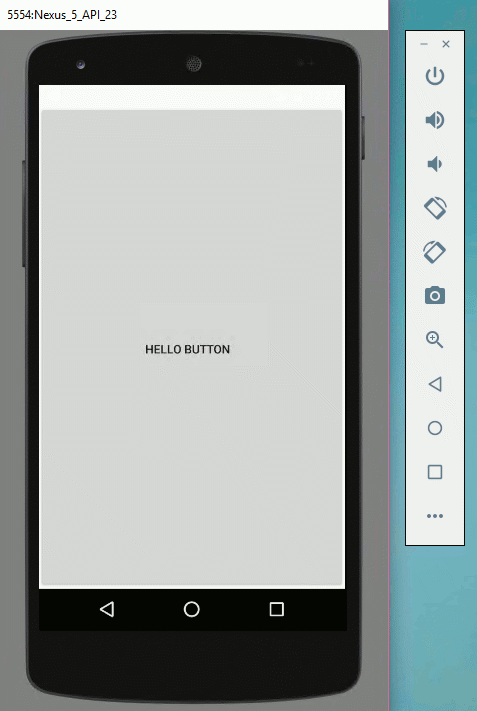
If you run this you will see a button that fills the screen with the caption "Hello Button".
Don't bother setting any layout properties in code because at the moment there is no layout in force so they will be ignored. How to activate a layout is our next topic. The ViewGroupIf an Activity can only show a single View object, how can we ever create a complex UI with multiple buttons, textViews and other components? The answer, and you probably already guessed it, is that there are Layout, or ViewGroup, objects which can be used to host other View objects. You already know about using Layouts in the Designer or in an XML file, but they, like all UI elements, correspond to particular Java classes that does the actual work. A ViewGroup can display multiple View objects. So in nearly all cases the View object that is associated with an Activity is a Layout View. When the Activity asks the Layout View to render itself, by calling its onDraw method, the Layout calls the onDraw method of each of the View objects it contains and puts them together to make a single result. Of course, it also performs a layout operation positioning and sizing the View objects it contains. So a Layout does two things:
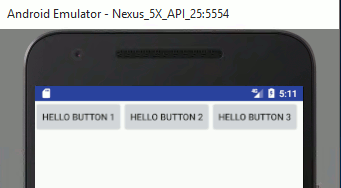
To see this in action try: @Override If you run this program you will see a button at the very top left of the screen. The first instruction creates a LinearLayout object. This is a subclass of View that can contain other View objects and it organizes them in a left to right or top to bottom way depending on the setting of its orientation property. Next we create a button object and then use the standard addView method of the LinearLayout to add it to the layout. All Layouts have an addView method, which can be used to add multiple View objects. You can add more buttons to see how the default LinearLayout works: protected void onCreate(Bundle savedInstanceState) {
super.onCreate(savedInstanceState);
|
||||
| Last Updated ( Monday, 03 June 2019 ) |


