| Raspberry Pi IoT In C - The DS18B20 Temperature Sensor |
| Written by Harry Fairhead | ||||
| Tuesday, 17 May 2022 | ||||
Page 1 of 3 The DS18B20 is the most used of the 1-wire devices. Find out how to use it. This is an extract from the newly-published Raspberry Pi IoT in C, Second Edition. Raspberry Pi And The IoT In C Second EditionBy Harry FairheadBuy from Amazon. Contents
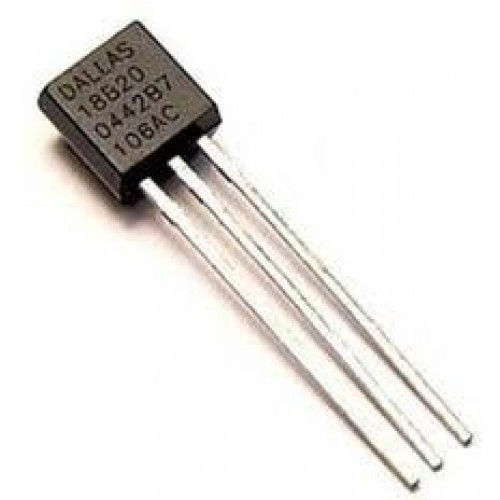
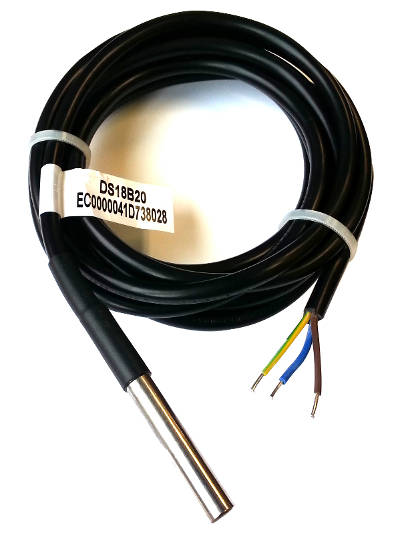
<ASIN:1871962633> <ASIN:B08KLNT2JC> Using the software developed in previous chapters we can connect and use the very popular DS18B20 temperature sensor without the need for external drivers. The HardwareThe DS18B20 is available in a number of formats, but the most common makes it look just like a standard BJT (Bipolar Junction Transistor) which can sometimes be a problem when you are trying to find one. You can also get them made up into waterproof sensors complete with cable.
The basic specification of the DS18B20 is:
It can also be powered from the data line, making the bus physically need only two wires - data and ground, however, this "parasitic power" mode is difficult to make work reliably and best avoided in an initial design. To supply it with enough power during a conversion the host has to connect it directly to the data line by providing a "strong pull-up" - essentially a transistor. In normal-powered mode there are just three connections:
While you can have multiple devices on the same bus, for simplicity it is better to start off with a single device until you know that everything is working.
You can build the circuit in a variety of ways. You can solder the resistor to the temperature sensor and then use some longer wires with clips to connect to the Pi. You could also solder directly to the Pi, which is a good plan for the Pi Zero, or use a prototyping board. |
||||
| Last Updated ( Tuesday, 17 May 2022 ) |


 No matter how packaged, they will work at 3.3V or 5V.
 Ground needs to be connected to the system ground, VDD to 3.3V and DQ to the pull-up resistor of an open collector bus.
