| Hello VB |
Page 1 of 4 If you have always wanted to learn to program then why not give Visual Basic 2010 a try? You don't have to buy anything and you can get started with just a machine that runs Windows XP or later and our new series on Mastering VB.
If you have always wanted to learn to program then why not give Visual Basic 2010 a try. You don't have to buy anything and you can get started with just a machine that runs Windows XP or later. All you have to do is go to: http://www.microsoft.com/express/Downloads/ and download Visual Basic 2010 Express. You can use it for one month after installing it and to continue to use it after this you have to register at the Microsoft web site and get a free numeric key. Of course to get the key you have to give some personal information - including an email address - but it seems a small price to pay for a free development environment. Step One - Creating a projectInstalling Visual Basic is just a matter of running setup that is part of the download. This installs VB to a default directory and installs an icon in the Microsoft Visual Studio Express 2010 start menu item.
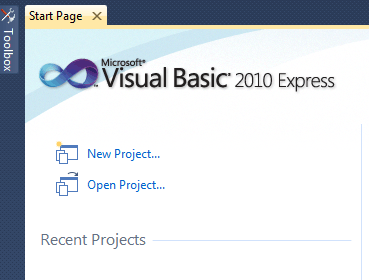
When you run VB Express you will see the start screen which offers you up-to-date information downloaded from the web. Later, when you have worked on other projects you will also see recent projects listed. However the first time you use it there will be no past projects so simply click the New Project Link:
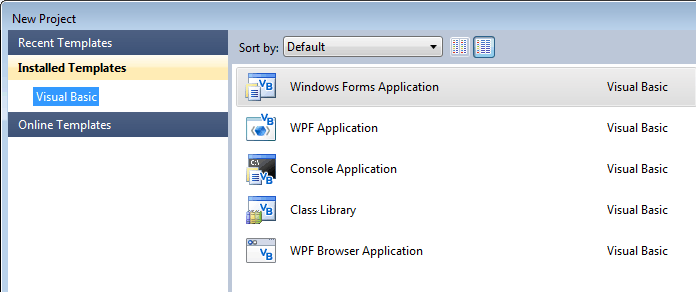
The dialog box that you see next offers you a list of possible project types. At the moment the only project type that you are interested in creating is "Windows Forms Application":
If you select this option and click OK then the a default project will be created.
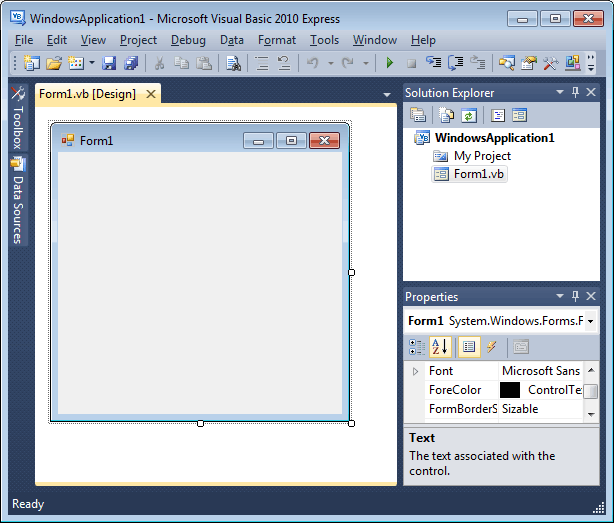
Step Two - The default viewAfter a few moments during which the project files are created you should see the soon to be familiar view of the designer. The key feature is the default form ready for you to start work on. The form is the window where you create your program:
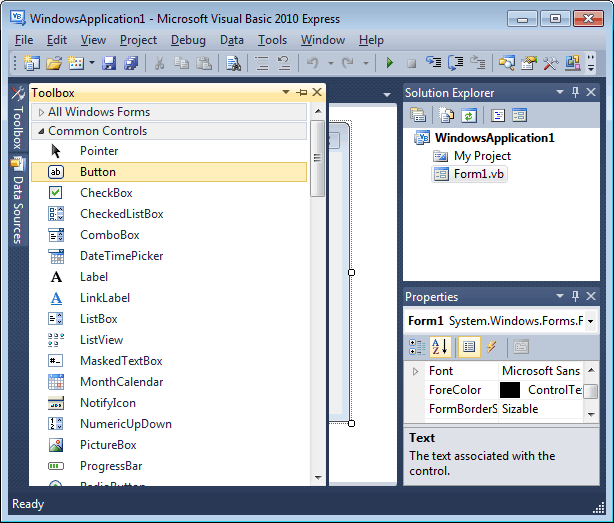
The other windows you can see provide you with tools and facilities to enable you to work on the form. Each of the Visual Basic windows is independent and can be moved around, closed or resized to suit your working environment. You can even drag the windows away from their current locations and place them anywhere you want to on the desktop - including on another monitor if you have a multi-monitor setup. However, to make things easier to follow it is better to leave everything where it is for the moment so that we have a "standard" layout. Step Three - The toolboxProgramming in Visual Basic is a very different experience from programming a traditional language and it is even different from some other popular modern languages like Javascript. In many other languages creating programs is a matter of typing in long lists of commands. This is also part of creating a Visual Basic program but it comes a lot later in the process. The first stage is nearly always to use the Toolbar to place controls on a form. Controls are jargon for all of the familiar objects that you see in any Windows application - buttons, text boxes, list boxes etc. If you click on the Toolbar tab it will pop out so that you can see the range of controls it offers:
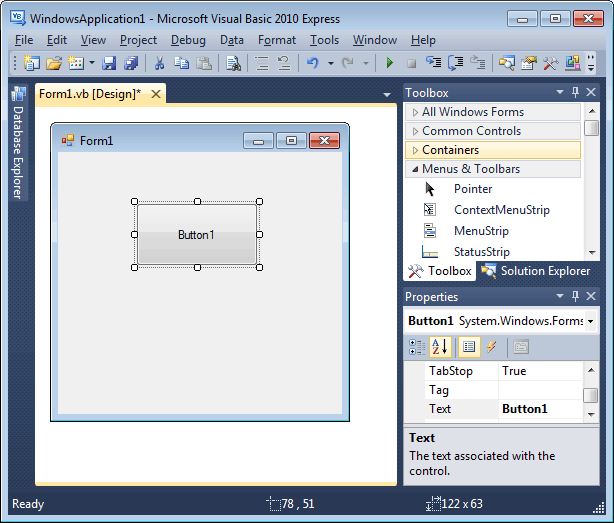
If you examine the different icons in the toolbar you will probably be able to work out what they are for. However, for the moment concentrate on one of the tools - the Button tool. Step Four - A first program!Yes, you really can create your own Windows application as Step Four of an introduction to Visual Basic! All you have to do is select the button tool in the toolbox and draw a button on the form. The only problem you might have is that the Toolbox covers up the form that you are trying to draw on. This makes working with any project difficult as the Toolbox only closes automatically when you click on another window. The simplest solution is to drag the toolbox to the right-hand side and dock it. Now select the Button tool and draw a large button on the form. You draw the button by clicking to mark its top left-hand corner, holding the button down and dragging to its bottom right-hand corner. If you don't like the button's resulting size or position you can move it and re-size it using the selection tool. Simply drag the button to its new location or drag its "handles" to alter its size:
A form with a button is a complete Visual Basic program - you don't need anything else |