| Skinning Windows Media Player |
| Written by David Conrad | |||||
| Tuesday, 02 March 2010 | |||||
Page 1 of 4 WMP skinsA skin is a customisable user interface. It gives users the opportunity to build their own interfaces for a variety of reasons. The Windows Media Player WMP supports “skinning” from version 7 and it makes a good starting point for finding out about the technology. You can use it to create your own versions of the WMP that provide a selected or augmented range of facilities. It also provides an excellent example of how to implement skinning in your own applications. WMP skins make use of XML to code the information needed to create a user interface so you can also regard what follows as a good example of how XML can be used.
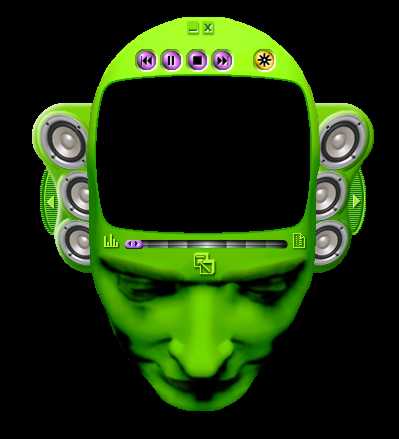
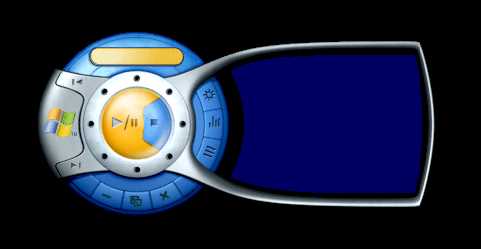
An example of what can be done to the media player with a skin
Before we begin you need a copy of the latest Windows Media Player, WMP 12, or you could use eariler versions as they all work in the same way with regard to skins. You could also download the WMP SDK but it isn’t really necessary as all it adds are the help files and some additional example skins. The examples in SDK are quite good once you understand the basic ideas but they tend to be too complex to make these ideas clear. For example they use sophisticated drawing/painting packages to create the artwork that is needed and make use of layers and other features which make things easier in practice but confuse the beginner. To demonstrate exactly what is essential in the construction of a skin we will make use of Paint and Notepad and take the simplest possible approach. If you want to make use of another graphics package or text editor you can and there should be no difficulties. Skin filesThe central file in a skin definition contains XML that specifies the files that contain the artwork and how the artwork relates to the controls. This is a standard text file identified by the three letter extension .WMS. If you open this file, by double clicking on it say, then the WMP opens with the skin it specifies. In other situations this would be called a manifest as it lists all of the resources used by a skin. As already mentioned the skin definition file uses XML but it is easy enough to understand and very similar to HTML. However it is probably not a good idea to use an HTML editor to create it because HTML editors have a nasty habit of adding lines that help with the construction of web pages but aren’t appropriate for skin definition files. All you really need to know to understand XML is that information is contained between start and end tags. Every skin definition file has a <THEME> tag that starts it off and a </THEME> tag that marks the end. All of the other information is contained within additional tags that are placed between these two. Most of the work involved in mastering skins is a matter of discovering what tags are available and how to use them. The first tag that you need to know about is <VIEW> because it defines the graphics files used to display the WMP. The most important graphics file is the “background image” which determines the way the media player looks. This can be a gif, bmp, jpg, or png and using Paint it is easiest to create a .bmp file. You can create a display area of any shape by using a “transparent” colour. Any single colour can be set to display as transparent and other colours are used in the skin definition to indicate other special properties, so clearly we are going to need a way of specifying a colour precisely. This is achieved by quoting the amount or Red, Green and Blue that goes into the colour as an RGB value. The only complication is that the numerical range for each colour is 0 to 255 and this corresponds to 00 to FF in hex, which is the way the value is usually quoted. So for example #FF0000 is the colour that you get when you set red to 255, green to zero and blue to zero, i.e. full red (the # indicates that the number is in hex). We can now create our first skin definition file. Open Notepad and enter the following lines: <THEME> The file should be saved into a new directory as Skin1.wms say, where the graphics files will also be stored. The tags specify that the background image is called “primary.bmp” and that the transparent colour is #FFFFFF which is 255 Red, 255 Green and 255 Blue which gives white. Before we can try this out we need the graphics file. The titleBar = "false" part of the tag specifies that the WMP should display without the usual title bar that a rectangular window always has. If you do opt for a title bar then transparent colours don’t work. If you want to close WMP while testing a skin simply right click on it and select Exit from the context menu that appears. <ASIN:0321559673><ASIN:0470114878> <ASIN:0596007647> <ASIN:0321702115> |
|||||
| Last Updated ( Tuesday, 02 March 2010 ) |