| Time to delete |
| Written by Harry Fairhead | |||||||
| Saturday, 11 July 2009 | |||||||
Page 1 of 6
What's the biggest problem facing computer users today? Well most would agree that the growing volume of data that we have to work with doesn’t help. Even though hard disks are getting bigger all the time, the sheer volume of data makes it difficult to find what you are looking for and, yes, it is still possible to run out of disk space. What’s the solution? Delete unwanted and duplicate information. Time DeleteThis is easier said than done – after all at some point every file contains vital information. Often, however, we receive information or create a file that can’t be deleted at once but has a very definite shelf life. For example, you might want to keep all the temporary files relating to a project for a month but after that the project is completed and the “work in progress” is no long valuable. A better idea than having to remember to go back and delete files is to set a timed delete option and this is exactly what this project is all about. The basic idea is that the user can select one or more files and set a “time to live”. Then when the time is up the files are automatically deleted. This sounds easy but if you think about it there are a huge number of variations on this basic theme – the good thing about a project of this sort is that you can take it as a starting point and customise it to do exactly what you think it should do. Send toThe first problem we have to solve is how to give the user the ability to specify the “time to live” for a set of files. There are a great many ways of doing this and the ideal solution would allow the user to set a timed delete easily and naturally when they first create the document. Unfortunately this is a tall order because it would mean writing an add-on for every application in use. A more general approach isn’t as convenient to use but it is easier to implement and provides a starting point for more specialised implementations. The easiest way of providing a custom file command is to use the Send To right-click menu option. Compared to other custom menu options within Windows, the Send To menu is very easy to modify. For each user there is a special directory called: Documents and Settings\user name\Send To Any shortcuts that you store in this directory automatically appear in the Send To sub-menu as options. It really is this simple! When the user selects a set of files (all in the same directory), right-clicks and selects the shortcut from the Send To sub-menu the application that the shortcut targets is started. The full path names of all the selected files are provided to the application via a set of command line arguments. Installation of a “Send To” application is just a matter of creating a shortcut and this is so simple it hardly seems worth inventing a separate installation module. So with this in mind it is worth experimenting with the idea of creating a single .EXE file that does everything, including installation. The advantage of this approach is that distributing the final application is just a matter of downloading and running a single .EXE file – simplicity itself.
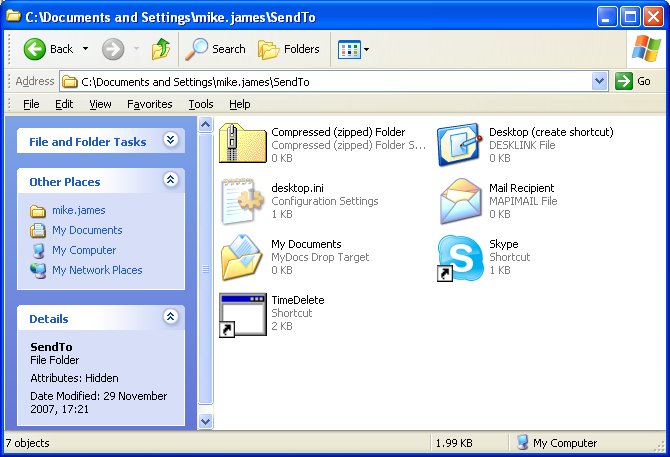
The Send To directory with typical shortcuts <ASIN:B002DHLUWK@COM> <ASIN:B002DHLV8S@COM> <ASIN:0596514824> <ASIN:1590599543> |
|||||||
| Last Updated ( Saturday, 11 July 2009 ) |