| Getting Started with Box2D in JavaScript |
| Written by David Conrad | ||||
| Friday, 20 January 2012 | ||||
Page 2 of 3
Define a FixtureFixtures are what give a body shape, mass and other physical properties. The shape of the fixture that you attach to a body also determines the way it collides with other bodies, but more of this later. As in the case of bodies, we use a two-step process to create a fixture. First we create a fixture definition and then we use this to create the fixture on the body. A fixture definition is created in the usual way: var fixDef = new b2FixtureDef; We need to set up a number of properties that determine how the body with the fixture attached will move. Generally you need to specify a value for the density of the body: fixDef.density = 1.0; the friction between bodies - a value from 0 (no friction) to 1 (maximum friction): fixDef.friction = 0.5; and finally the restitution which sets the elasticity of the body - a value from 0 (inelastic) to 1 (perfectly elastic): fixDef.restitution = 0.5; The restitution value is easy to understand if you think of it in terms of how high a ball will bounce. If you drop a ball from 1 meter high then the restitution is the height it bounces to on the first bounce. Finally we need to define the shape of the fixture. Box2D has a range of simple shape objects which you can use. In this case we need a simple circle of radius 1 meter: fixDef.shape = new b2CircleShape(1); Body and Fixture CreationNow we have a world object, a body definition and a fixture. definition. The next step is to create the body and its fixture from the definitions. Bodies are created as they are added to the world object: var body= world.CreateBody(bodyDef); The CreateBody function returns the body it has just created. You can use this to create the fixture from its definition: body.CreateFixture(fixDef); Of course, if you don't want to reference the body again you can simply combine the two steps into: world.CreateBody(bodyDef). Notice that you can use the body and fixture definitions to create as many bodies and fixtures as you like, i.e. they are reusable. In most cases you would reuse the definitions after changing, say, position or velocity. Simulation StepNow we have a world with a body ready to move - how do we actually move it? All you have to do is call the world's Step method which scans through all of the bodies and computes their next position, taking into account all of the forces and collisions that might occur. The calculation that works this all out is iterative and you can specify how many iterations are used. The more iterations the more accurate the results but the slower the simulation. You have to tell the Step method three things - the size of the time step, the number of velocity iterations and the number of position iterations. The time step is in seconds and it should remain the same for the complete simulation. The other two parameters are set by trial and error - too big and you slow things down, too small and the simulation starts to do strange things. In most cases you need the simulation to fit in with your animation loop which usually has a target of around 60 frames per second so a typical call to Step is: world.Step(1 / 60 , 10 , 10 ); Notice that in general this just updates all of the bodies' positions, velocities and so on - it is up to you what to do with this information. Also notice that you don't have to call this method every 60th of a second. The method computes what would happen in the next 60th of a second in the simulated world, but this doesn't have to correspond to real time. Of course, if you want to draw what happens in the next frame of an animation, you do need to get the whole job done once per 1/60 seconds. So how do we create the animation loop? The standard and simplest solution is to use a timer: window.setInterval(update, 1000 / 60); and define the update function: function update() {
The update function simply calls Step to update the model and then draw it using the supplied renderer. In a real case you would almost certainly write your own renderer to draw sprites at the positions of all of the bodies. Finally you make a call to ClearForces to get the model ready for the next simulation step. The only missing part of the program is some boilerplate code to set up DrawDebugData so that it displays what you want it to and this is: function setupDebugDraw() {
You need to place a call to setupDebugDraw before the animation loop starts. With this added you can run the program, i.e. load the pages, and you will see a sphere appear at the top of the canvas and fall increasingly fast under "gravity" to the bottom where it vanishes from view.
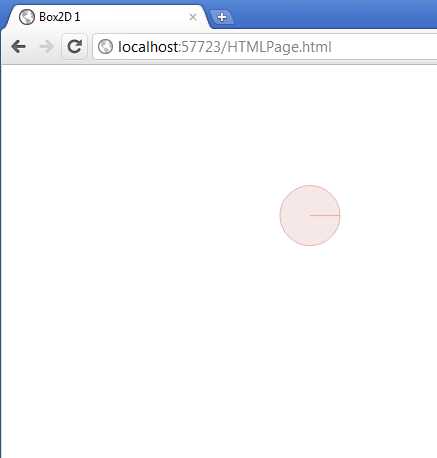
The horizontal line indicates the orientation of the body - and yes bodies can rotate as you will discover. |
||||
| Last Updated ( Thursday, 05 January 2017 ) |