| Implementing an MQTT Broker |
| Written by Sigal Zigelboim | ||||||
| Friday, 01 March 2024 | ||||||
Page 2 of 2
Getting Started With EMQXLet’s see how to download, install, and deploy EMQX, a popular open source MQTT broker. This broker provides the following capabilities:
You can download EMQX here. Installing EMQXYou can install EMQX using Docker, EMQX Kubernetes Operator, or install it directly on a physical or virtual machine using a downloadable package. The package supports all popular operating systems including Windows, Linux, macOS, RockyLinux, Ubuntu, and RedHat. Probably the easiest method to install EMQX is via Docker. Enter the following command in your terminal to download and start the latest version of EMQX. Make sure Docker is installed and running: docker run -d --name emqx -p 1883:1883 -p 8083:8083 -p 8084:8084 -p 8883:8883 -p 18083:18083 emqx/emqx:latest Next, open your web browser and type: http://localhost:18083/ (replacing localhost with your IP address if necessary). This will take you to the EMQX Dashboard, where you can establish client connections or monitor running status. The default login credentials are: username: admin password: public Verifying Connection with MQTTXLet’s test the connection and message services using MQTTX, a multi-platform MQTT 5.0 desktop client available on macOS, Linux, and Windows. The following section shows how to verify your connection using MQTTX Web, a browser-based MQTT 5.0 WebSocket client tool. This tool requires no downloads or installations.
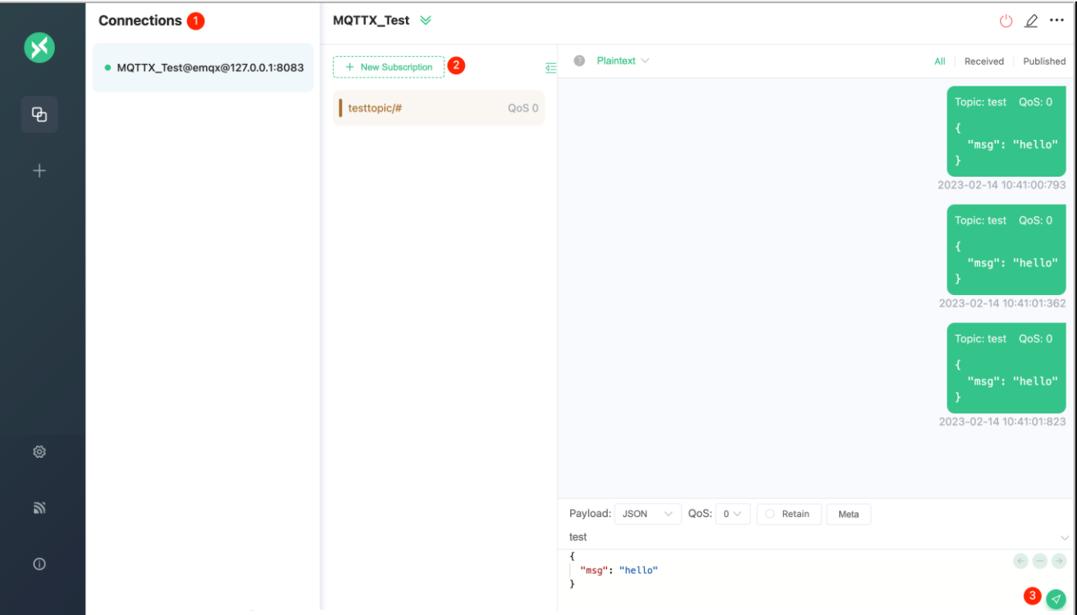
To set up the MQTT connection:
After establishing a successful connection:
More InformationRelated ArticlesWhat Is XDR and How Can It Improve API Security? Quishing Prevention: How Can Developers Create Secure QR Scanning Apps? Using ABAC To Secure Your Applications Endpoint Security for Development Environments Web Service Security: What You Should Know To be informed about new articles on I Programmer, sign up for our weekly newsletter, subscribe to the RSS feed and follow us on Twitter, Facebook or Linkedin. 
Comments
or email your comment to: comments@i-programmer.info
|
||||||
| Last Updated ( Friday, 01 March 2024 ) |