| Building Geo-tracking Apps with AngularJS, Ionic, and the Salesforce REST API |
| Written by Mikhail Yurasov | |||
| Thursday, 26 June 2014 | |||
Page 2 of 2
Let's dig into the code to see what's actually happening here. First let's take a look at www/js/services.js:
) } } });
We see the auth service defined. It has methods to read/store/delete login information and openLogin() method, which opens the salesforce.com login dialog optimized for smartphones. Now that we know what the auth service is, we can understand the following piece of code in www/js/app.js: ... // check auth data .run(function ($ionicPlatform, auth) { $ionicPlatform.ready(function () { if (false === auth.get()) { auth.openLogin(); } }) }) ... It basically checks whether we have an auth token, and if not, opens the salesforce login dialog. When the user is done with login, the browser is redirected to the redirect_uri parameter passed initially to the Salesforce OAuth server. In our case, it is sfsampleapp://oauth-callback – custom URL scheme that our app is registered to handle. When the app is invoked with this custom URL scheme, the global handleOpenURL() function is executed: // handle custom url schemefunction handleOpenURL(url) { var path = url.match('://(.*?)[\\?#]')[1]; if (path == 'oauth-callback') { // get hash part var query = url.substr(url.indexOf("#") + 1); var data = {}; // split into parts var parts = query.split('&'); // read names and values for (var i = 0; i < parts.length; i++) { var name = parts[i].substr(0,parts[i].indexOf('=')); var val = parts[i].substr(parts[i].indexOf('=') + 1); val = decodeURIComponent(val); data[name] = val;} // save auth using LayoutController var $scope = angular.element(document.body).scope(); $scope.$apply(function () { $scope.onAuth(data); }); }}
The actual URL received by this function looks like: sfsampleapp://oauth-callback #access_token=TOKEN &instance_url=https%3A%2F%2Fna15.salesforce.com &id=https%3A%2F%2Flogin.salesforce.com &issued_at=1398573122814 &scope=full &token_type=Bearer Here is the meaning of some of the passed params:
Authentication params are parsed into a JavaScript object and then using $scope.$apply() and LoginController passed to auth service to be saved. Now, once we have the access token, the rest is done with CRUD operations on a Position resource in www/js/controlles.js. Creation of the new Position object with POST method on collection: $.ajax({url: authData.instance_url + '/services/data/v29.0/sobjects/Position__c', type: 'POST', headers: { 'Authorization': authData.token_type + ' ' + authData.access_token, 'Content-type': 'application/json' }, data: JSON.stringify({'Data__c': ''}), })
Update with PATCH method on resource: $.ajax({ url: authData.instance_url +'/services/data/v29.0/sobjects/Position__c/' + $rootScope.positionObjectId, type: 'PATCH', headers: {'Authorization': authData.token_type + ' ' + authData.access_token,'Content-type': 'application/json'}, data: JSON.stringify({ 'Data__c': JSON.stringify(positionList)}),});
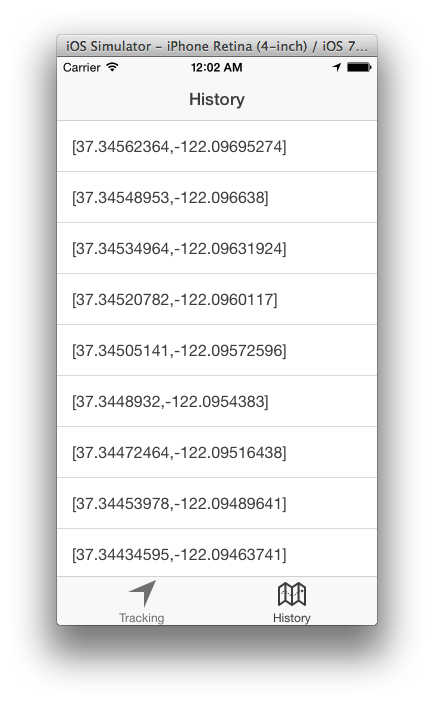
And finally we use GET method to retrieve stored positions in HistoryController:
ConclusionWe have created an app utilizing Salesforce Platform in a flexible way, without using any SDKs or libraries, but using only open standards - OAuth protocol and RESTful APIs. The same approach can be easily ported to virtually any environment, making it attractive in a modern multi-platform environment.
More InformationFor a comprehensive set or resources check out Salesforce Platform Mobile Services. Mikhail Yurasov is a full-stack mobile/web/connected devices developer specializing in leading projects from the idea to the full implementation. He can be contacted at me@yurasov.me for any comments and questions or see his profiles on LinkedIn or GitHub. Related ArticlesSalesforce.Com Secrets of Success 2nd Ed Saleforce Awards Another $1 Million Getting started with Google Maps Getting started wth Bing Maps (Virtual Earth)
To be informed about new articles on I Programmer, install the I Programmer Toolbar, subscribe to the RSS feed, follow us on, Twitter, Facebook, Google+ or Linkedin, or sign up for our weekly newsletter.
Comments
or email your comment to: comments@i-programmer.info
|
|||
| Last Updated ( Thursday, 24 July 2014 ) |