| Getting started with Microsoft Tag |
| Written by Mike James | ||||
| Monday, 07 June 2010 | ||||
Page 1 of 3 Microsoft Tag is a new service that allows you to create colored barcode tags. Find out how to use the API to create, edit and render tags into a BitmapSource. 
Microsoft Tag is a new service that allows you to create colored barcode tags. You can use it simply by going to a website and entering the details of the tag you want and then downloading the result in a suitable format - png, pdf and so on. However you can also use the same web system as a web service and this article explains how to get started and how to work with the Tag data that the service generates. Why might you want to use the Tag API? Obviously there are applications for the Tag API that are yet to be discovered but there are some obvious uses for it. For example, if you need to generate a series of Tags that label a set of events, objects or offers then automating it is obviously better than doing the job by hand. In the same way if you need a set of Tags on a regular repeating basis then the API is the way to go. Less obvious applications are to be found in the mobile world. Generating Tags while on the move to label things that you encounter seems as if it would have applications - especially so if you had a mobile color printer as well. Before you get started it is worth having a look at the main Tag website. You should also try out the on-line facility for creating a tag as it gives you the opportunity to discover some of the features that we will be accessing via the web service.
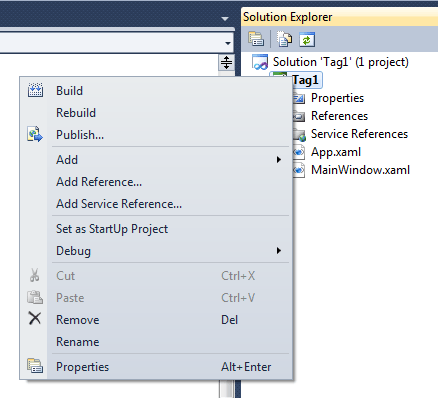
The Tag Manager The Tag service API is still in beta and before you start to use it you need to apply for a key. To do this you have to visit the Tag Developer website and fill in a form about your proposed application. You will then receive an email containing your API Key and some other useful information. In the examples that follow you have to replace KEY with the API key that you have been supplied with. Connecting to the serviceThe first thing you have to do to make use of the Web service is to add it as a resource to your project. To see this in action first start a new WPF C# (or Visual Basic as the commands are very similar).You can create a Windows Forms application and use the same code right up to the point where the example demonstrates how to handle the bitmap data. There are bitmap classes that can be used to process the data but the WPF bitmap classes have lots of advantages. You can use almost any modern version of Visual Studio - Express or 2010. Once the project has been created right click on the project's name, Tag1, in the Solution Explorer and select the Add Service Reference menu option.
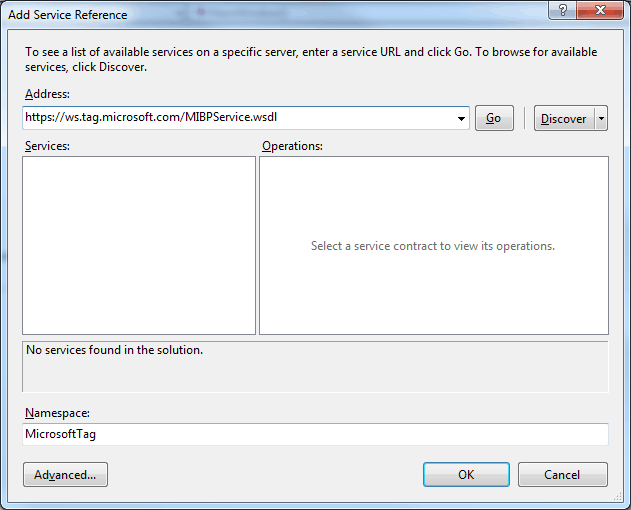
Add a Service Reference In the dialog box that appears simply enter the URL: https://ws. and change the Namespace to something appropriate: MicrosoftTag in this case of this example.
Setting the service and the namespace When you click OK you will see, after a slight pause, a set of classes added to your project - these are the classes you will use to work with the service.
The classes added by the reference to the web service
<ASIN:0521888395> <ASIN:1907215026> <ASIN:3639175638> <ASIN:0764579568> <ASIN:0471789194> <ASIN:1425133746> |
||||
| Last Updated ( Wednesday, 04 August 2010 ) |