| Microsoft Android Emulator Standalone For Android Studio |
| Written by Mike James |
| Tuesday, 21 July 2015 |
|
One of the strange but welcome spin offs from the Visual Studio 2015 launch is that the Microsoft Android emulator is now available as a standalone download. It works with Visual Studio and Eclipse. The reasoning behind Microsoft creating and supplying an Android emulator isn't clear, but if you are using Android Studio it is well worth downloading and using if you are working under Windows. In many ways, it is everything that the emulator provided by Google should be and isn't. It is even better than the HAXM accelerated emulator provided by Intel.
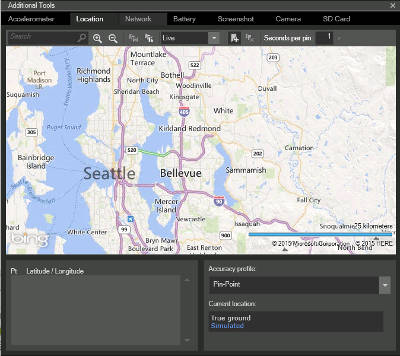
There are many reasons why it is better. The first is that it runs under HyperV, which means you don't have to switch HyperV off to run it as you do with HAXM. It also works via a remote desktop, which HAXM based emulations don't. If these two advantages aren't enough then the clincher is that it is fast and it has lots of extra, easy to use, features. For example, there is an easy to use control panel that gives you control over the accelerometer, location, network, battery state, camera and SD Card. You can also use it to take screen shots.
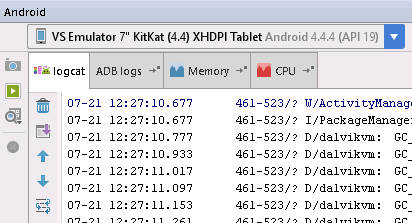
While most of these things can be done using the standard emulator this one makes it easy. In addition you also get the ability to restore a backup by just dragging a zip, copy a local folder to the SD card and use a command line interface. The fact that the emulator is part of Visual Studio was about the only thing off-putting about trying it and now you don't need to install Visual Studio. You can simply download and install the emulator on its own. You will need a machine that supports HyperV, but that means most recent machines. If you have run anything else that makes use of HyperV then it should just work. You also don't have to install or configure HyperV to make it work. Simply download and use the installer. When it is all installed try the Nexus 7 emulator first as it has reasonably low resource requirements. When you have the emulator installed there are still things that can go wrong. In particular the emulator makes use of a USB ADT connection to the IDE you are using. This means if the machine has a lot of USB devices already installed it might not work. I had to remove everything but the USB mouse and keyboard to make the emulator start on one particular machine. If the emulator starts to load and stalls at 456 MBytes or thereabouts suspect that either your machine doesn't support HyperV or there is a USB clash. Another problem is that, for some unknown reason, the installer fails to locate the Android SDK. If you run Android Studio and can't see the emulator listed in the drop-down list of devices then you need to edit the registry. Run Regedit and create or edit the key: HKEY_LOCAL_MACHINE\SOFTWARE\Wow6432Node\Android SDK Tools Notice the spaces in Android SDK Tools. Add the variable Path and set it to the directory where the SDK is stored. When you restart the emulator it should appear in the drop-down list and you should see lots of messages in logcat.
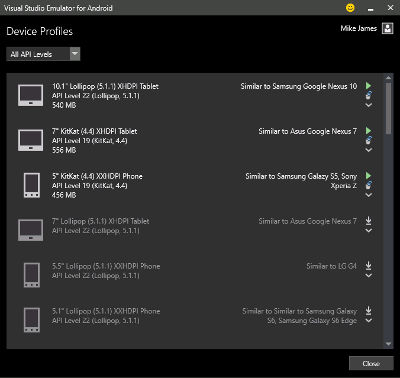
Once you can see the emulator listed as a device you can simply select it as the Run target, either in the dialog box that appears or in the Run Configuration for the app. Essentially, you use the emulator as if it was a real hardware device connected via USB. You don't get as wide a range of emulator profiles, but those provided - Lollipop to Jellybean - are generally the useful ones. You also only get x86-based emulators, but this is true of HAXM too. The Google ARM emulators are so slow you really have to use a real device. One final downside is that if you want to use the emulator beyond a 30-day trial period you have to log in with an Azure or Microsoft account. This is still free but you might not like it.
More InformationRelated ArticlesAndroid M - Still No Name But An SDK Update And NDK Support Google Drops Support For Eclipse - It's All Android Studio Now Android Studio 1.0 Released - Eclipse ADT Development Stopped
To be informed about new articles on I Programmer, install the I Programmer Toolbar, subscribe to the RSS feed, follow us on, Twitter, Facebook, Google+ or Linkedin, or sign up for our weekly newsletter.
Comments
or email your comment to: comments@i-programmer.info |
| Last Updated ( Tuesday, 21 July 2015 ) |


