| WinRT JavaScript - Working with Tiles & Badges |
| Written by Ian Elliot | ||||
Page 1 of 3 One of the most noticeable features of WinRT/Metro is the use of tiles. At the simplest level, a tile acts as little more than an icon for your app. Taken just a little further, however, and a live tile can be used communicate with the user. Exactly how all of this works can be a bit confusing, so let's find out about its fundamental principles. This article is Chapter 5 of Creating JavaScript/HTML5 Metro Applicationsand follows on from these previous ones:
When you first see the tiles organized on the start screen you can see their potential to inform and alert the user to the current state of things. You might be tempted at first to see the tile as a sort of mini-screen, a graphics display that your application can use. However, this is not how the Metro tiles work and once you start to think about it you can see that just giving direct access to tiles would result in a chaos of competing updates from lots of different applications, not to mention the security aspects. Instead of a free for all, the tile system is based on a single tile manager that receives requests for tile updates from applications. It manages the updates as a queue and performs the updates when it decides it is a good time. This is a much more sophisticated approach but it is also more limited. What you can do with a tile is strictly set by the system. There's a predefined and non-extensible set of tile templates that you can use. Each template allows a mix of text and graphics so you should be able to find one that will do the job - but you can forget freeform graphics and even custom templates. You can, of course invent clever ways of squeezing more customization out of the system than it was designed to deliver but let's look at the basics first. The Default tileThe first thing to get to grips with is the default tile. This is the tile template that the tile manager displays when it hasn't got anything else to display. Tiles come in two sizes:
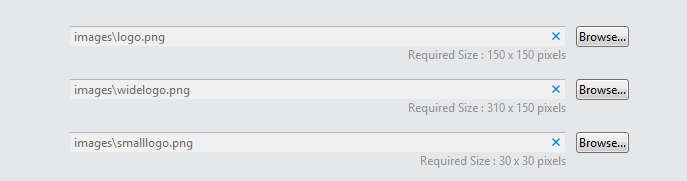
You can see that wide tiles are more sophisticated but you need to keep in mind that the user can select the tile size at any time so you really need make sure your app can work with both types. At best you can get away with just supporting a square tile and this is how Visual Studio sets your application to get you started. The default tile is set up in the package.appxmanifest file which is an xml file that sets lots of configuration parameters for you app. Basically all you can do is specify graphics files for the three different tiles or icons the system will display for your app: The square tile needs a 150x150 pixel bitmap, the wide needs 310x150 and you also need a small logo at 30x30 pixels. For some reason when you create an application using a Visual Studio template you get defaults for the 150x150 and the 30x30 but you have to provide your own 310x150 wide logo.. The simplest way to do this while you are experimenting is to open the existing logo.png file which is stored in images, resize it to 310x150 and then save as widelogo in the same directory. Finally edit the manifest file by opening it in Visual Studio and specify widelogo.png as the Wide Logo:
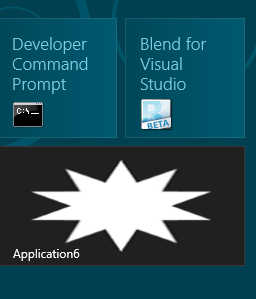
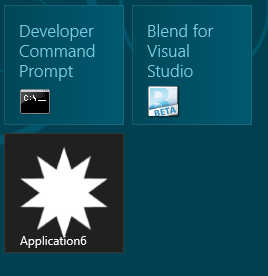
Now when you run the app the user can select either the wide version or the square version:
Badge updateA badge is an update that can be used with either size of tile without modification. As this works with both tile sizes and it uses the basic notification update method of the full live tile templates it is worth getting to know. A tile can only display a single badge and it is displayed in the right or left hand corner depending on the text direction in force. So let's see how to perform a badge update. The first thing to note is that there are two fundamental badge types, a numeric type and a glyph type. As you might expect, the numeric type can display up to two digits, while a glyph type can display an icon that shows the current state. The glyph type can only display an icon from a predefined and fairly restrictive set:
The steps in creating and using a badge are very simple. First get the xml object that represents the badge, customize this, use it to create a BadgeNotification object and finally use the BadgeNotification object to send updates and other requests to the tile manager.
|